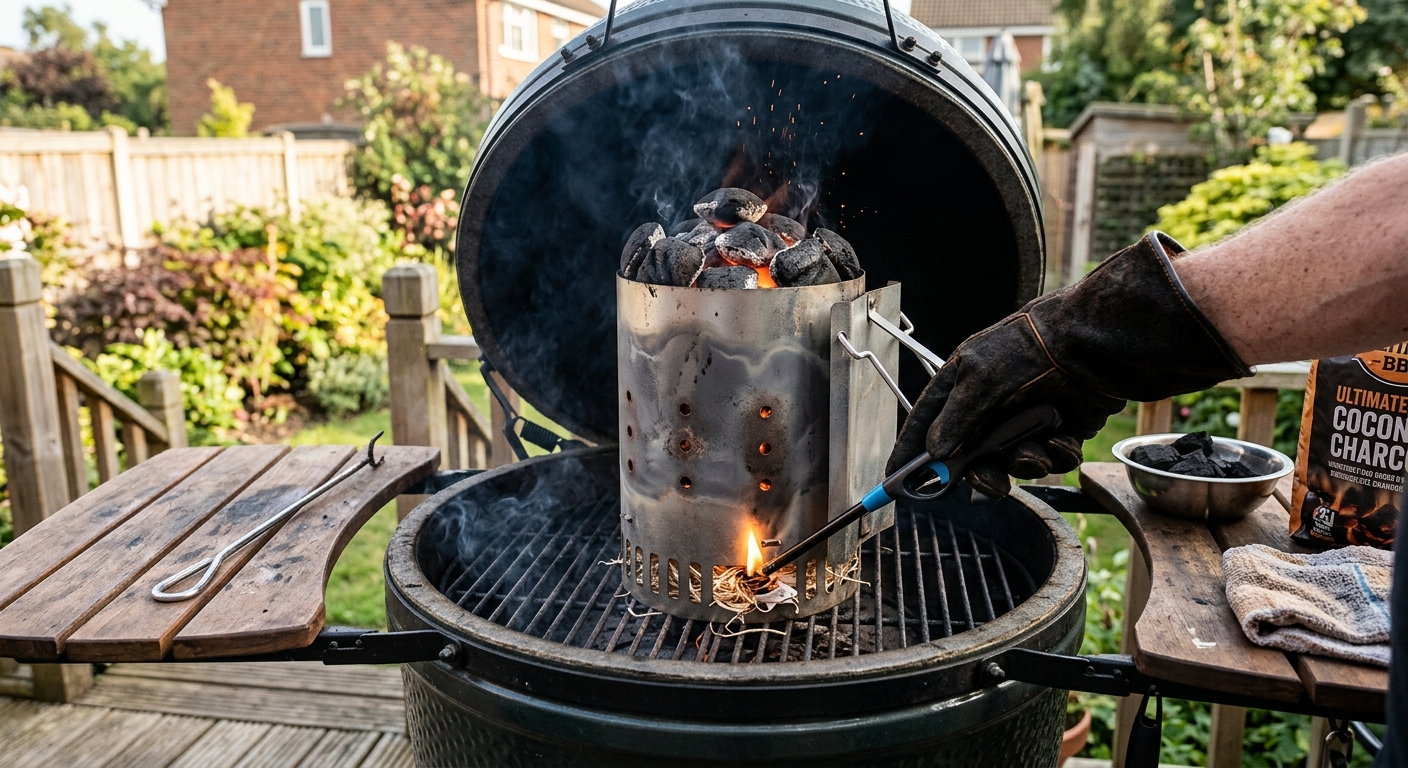
Introduction to Coconut Charcoal
For barbecue enthusiasts and professional pitmasters alike, the fuel you choose is just as important as the meat you smoke. In recent years, coconut charcoal has surged in popularity as a premium alternative to traditional wood lump charcoal and standard briquettes. Made from compressed coconut shells, this eco-friendly fuel burns hotter, lasts longer, and produces significantly less ash than its competitors. However, its high density means it requires a specific approach to ignite. If you have ever struggled to get your coconut briquettes glowing red, you are not alone. This guide provides comprehensive BBQ coconut charcoal lighting tips to ensure a flawless start to your grilling sessions.
Why Coconut Charcoal is Different
Before diving into the lighting techniques, it is essential to understand why coconut charcoal behaves differently. Because the manufacturing process involves carbonizing coconut shells and compressing them under immense pressure, the resulting briquettes are incredibly dense. This high density is a double-edged sword. On one hand, it guarantees an exceptionally long, stable burn time that is perfect for low-and-slow barbecue smoking. On the other hand, the lack of porous space inside the briquette makes it much harder for oxygen to penetrate and for the initial spark to catch. Patience and the right tools are paramount.
Comparing Lighting Methods
There are several popular methods used to light coconut charcoal. Each has its own advantages depending on your budget, time constraints, and tolerance for smoke. The table below compares the three most effective methods for igniting dense coconut briquettes.
| Lighting Method | Average Lighting Time | Initial Cost | Smoke Level |
|---|---|---|---|
| Chimney Starter | 20-25 minutes | $15 - $25 | Moderate |
| Electric Charcoal Lighter | 60-90 seconds | $30 - $80 | Very Low |
| Natural Wax Starters | 25-30 minutes | $5 - $10 | Low |
Top BBQ Coconut Charcoal Lighting Tips
1. Use a High-Quality Chimney Starter
The charcoal chimney starter is arguably the most reliable tool in a griller's arsenal. To use it with coconut charcoal, fill the top portion with your briquettes. Underneath, place two or three natural fire starter cubes rather than newspaper. Because coconut charcoal takes longer to light, newspaper will burn out before the briquettes can catch fire. The natural fire starters burn longer and hotter, providing the sustained heat required to ignite the dense coconut shells.
2. Master the Airflow
Oxygen is the crucial ingredient in any fire. When arranging your coconut charcoal, whether in a chimney starter or directly in your grill, do not pack the briquettes too tightly. Leave small gaps between them to allow air to circulate freely. If you are lighting the charcoal directly in a Kamado-style grill, open the bottom vents completely to maximize the draft. A strong updraft will feed the initial flame and significantly reduce the time it takes for the coals to ash over.
3. Invest in an Electric Lighter or Heat Gun
If you grill frequently and want to bypass the wait time, an electric charcoal lighter (such as a Looftlighter) or a heavy-duty industrial heat gun is an excellent investment. These devices blast super-heated air directly onto the charcoal. Simply point the tip of the lighter at a cluster of coconut briquettes. Within a minute, you will see sparks, and shortly after, a glowing red center will appear. Once you have a solid ember base, you can pull the lighter back slightly to let the built-in fan spread the fire. This method completely eliminates the need for starter cubes or paper.
4. Create a Charcoal Pyramid
If you find yourself without a chimney starter or electric lighter, the pyramid method is your best fallback. Stack your coconut briquettes in a tight, vertical pyramid shape over two or three natural wax or tumbleweed fire starters. The pyramid shape utilizes the scientific principle of convection; as the heat from the starters rises, it funnels through the center of the stack, preheating and igniting the briquettes on top. Once the center coals are glowing brightly, you can use tongs to carefully spread the charcoal out for an even cooking surface.
Common Mistakes to Avoid
Even with the right tools, there are a few pitfalls to avoid when working with coconut shell charcoal.
- Using Lighter Fluid: Never use petroleum-based lighter fluids on coconut charcoal. Not only does it produce a foul chemical odor that will ruin the taste of your food, but it also burns off too quickly to effectively penetrate the dense coconut briquettes.
- Starting the Cook Too Early: Coconut charcoal takes longer to fully ash over. Wait until at least 70 to 80 percent of the briquettes are covered in a light layer of white ash. Placing meat on the grill before the coals are fully ready can lead to temperature fluctuations and incomplete combustion odors.
- Poor Storage: Coconut charcoal is highly susceptible to moisture absorption. If left in a damp garage or outside in the rain, it will become nearly impossible to light. Always store your unlit charcoal in a sealed, airtight container or a heavy-duty plastic bin indoors.
Conclusion
Switching to coconut charcoal is a brilliant move for any barbecue aficionado looking for a clean, long-lasting, and high-heat fuel source. While its dense structure presents a slight learning curve during the ignition phase, applying these professional BBQ coconut charcoal lighting tips will streamline your process. Whether you opt for the tried-and-true chimney starter, a high-tech electric lighter, or the classic pyramid method, the key lies in maximizing airflow and providing a sustained, clean initial heat source. By avoiding lighter fluid and ensuring your briquettes are stored properly, you will set yourself up for a flawless and flavorful grilling experience every single time.
Frequently Asked Questions (FAQ)
Can I use standard newspaper in a chimney starter for coconut charcoal?
It is not recommended. Standard newspaper burns too quickly and produces a lot of ash. Because coconut charcoal requires a sustained flame to ignite due to its density, natural wax cubes or tumbleweed starters are far more effective.
How long does coconut charcoal take to light compared to lump charcoal?
Coconut charcoal generally takes about 20 to 30 minutes to fully light and ash over when using a chimney starter, whereas traditional lump charcoal might only take 10 to 15 minutes. The extra time is a trade-off for its extended burn time during the cook.
Is coconut charcoal completely smokeless when lighting?
While no charcoal is 100% smokeless during the initial ignition phase, coconut charcoal produces significantly less smoke than wood lump or standard briquettes. The smoke it does produce is typically cleaner and lacks the heavy, acrid smell associated with lower-quality fuels.
Why won't my coconut charcoal stay lit?
If your coconut charcoal goes out after lighting, the two most common culprits are a lack of oxygen or moisture contamination. Ensure your grill vents are open to maintain airflow, and verify that your charcoal was stored in a dry, airtight environment.
Comments
Post a Comment